Smart Ways to Properly Indent in Word for Improved Document Structure in 2025
Indentation is a crucial aspect of document formatting in Word, impacting both readability and presentation. Whether you are drafting professional documents, academic papers, or business letters, understanding how to effectively use features like paragraph settings, bullet points, and tab settings can enhance your document’s structure significantly. This article will delve into various methods and tips for ensuring effective indentation in MS Word, catering to different writing needs in 2025.
Understanding Indentation Options
In Word, proper **indentation** is not just about aesthetics; it’s about creating a clear **document layout** that guides the reader through your content. Indentation options can range from left and right indents to first line and hanging indents. Each serves a unique purpose, enhancing the **text organization** of your document. For example, a first line indent is typically used for paragraphs, while a hanging indent is effective for bibliographies and citation lists. Mastering these various indent styles will position you as a capable word processor user, aligning your document’s presentation with its intended message.
Types of Indents: When to Use Each
**Left indent** and **right indent** allow for adjusting the entire paragraph’s position on the page, which can help in creating an organized layout, especially when defining sections within a document. A **first line indent** pushes only the first line of the paragraph inward—ideal for professionally formatted reports—while a **hanging indent** moves every line except for the first, commonly used in references or multi-line bullet points. Understanding these indent rules ensures that your document adheres to professional formatting standards.
Setting Up Indentation in Word
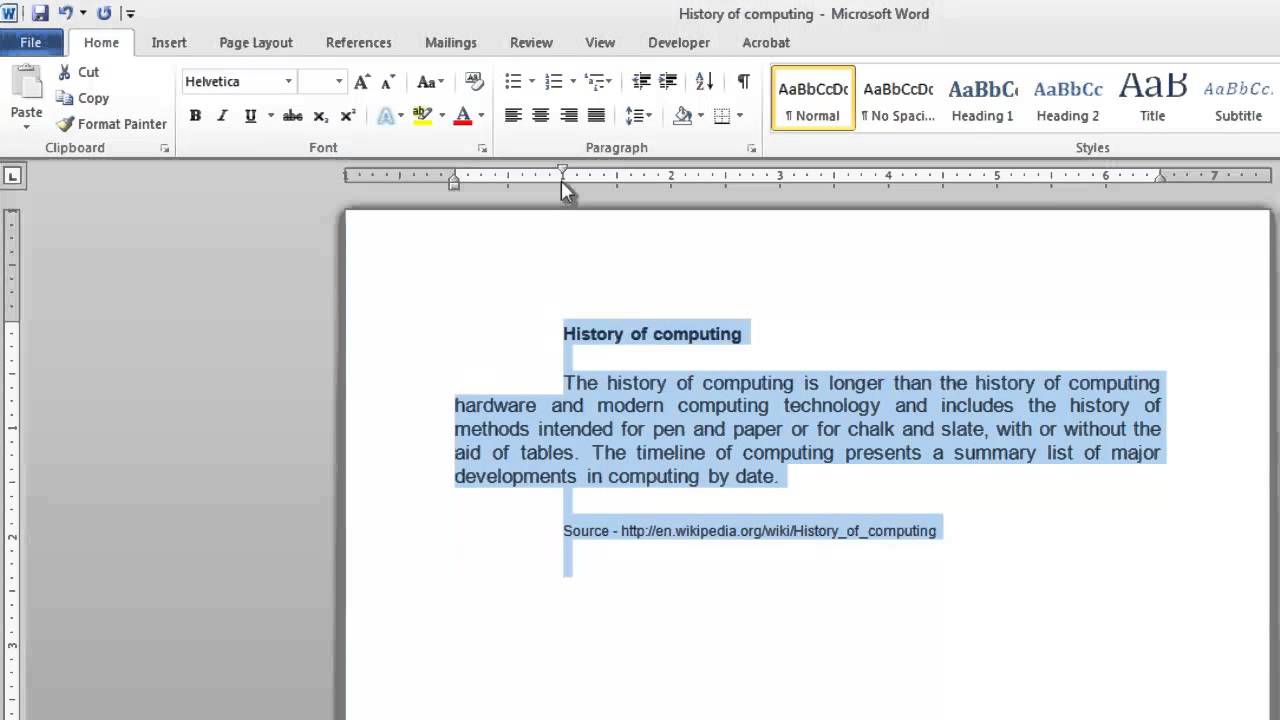
To set up your indents in MS Word, follow these steps: navigate to the **paragraph settings** in the formatting menu. There, you can adjust the **line spacing**, **spacing before and after paragraphs**, and choose your **indentation options**. You can also adjust the **ruler** at the top of the document, allowing for precise control of these features. By utilizing these tools effectively, you can create a more visually appealing and easily navigable document structure.
Using the Formatting Toolbar and Keyboard Shortcuts
The **formatting toolbar** offers quick access to indent options. Familiarize yourself with keyboard shortcuts for speedier text editing, such as pressing ‘Tab’ for a left indent and ‘Shift + Tab’ to decrease it. These shortcuts enhance your workflow, allowing for greater efficiency while maintaining a tidy **document design** whether drafting business letters or academic essays. Remember to keep your style guide or specific formatting guidelines handy to ensure compliance with required standards.
Text Alignment and Its Role in Document Formatting
Text alignment directly influences document clarity and presentation quality. While **indentation** adjusts the position of your text, text alignment dictates how text appears relative to the page or margins—left, center, right, or justified. Properly aligning text balances the visual elements of your documents and contributes to an effective **page layout**. Familiarizing yourself with these alignment options provided in Word leads to better structured documents, enhancing readability and overall viewer engagement.
The Importance of Margins in Indentation
**Margins** work hand in hand with indentation to frame your content within the page boundaries. Setting standard margins around your text not only elevates the overall professional appearance but ensures that your work remains legible when printed. Mismanaged indentation and margins can easily lead to formatting issues, making your work appear sloppy. Consequently, keeping a consistent margin policy within your chapter settings directly enhances **document editing** efficacy.
Creating Bullet Points and Numbered Lists with Indents
Bullet points and numbered lists are valuable organizational tools that rely heavily on indentation for visual hierarchy. When creating lists, use hanging indents for the bullet points or numbers, allowing for better alignment. This helps in maintaining clear presentation and aids in **effective communication** of information within documents. If you encounter formatting issues, inspect your paragraph settings to ensure alignment corresponds with your expectations.
Real-World Application: Writing Tips for Business Letters and Academic Writing
In the context of **business letters**, a clear structure is paramount. Using proper indentation guides recipients through your content while enhancing professionalism. Likewise, in **academic writing**, following the prescribed indentation style aligns with citation styles, contributing to the overall credibility of your work. Focusing on these formatting techniques ensures improved **readability** and communicates your ideas with clarity.
Leveraging MS Word Features for Effective Formatting
MS Word is equipped with numerous features that facilitate **effective formatting**. Utilizing tools like styles, themes, and template creation can significantly ease the overwhelming task of full document setups. With custom styles, you can maintain consistency throughout your documents and ensure the same **text styles** are uniformly applied, making your text appear cohesive. Let’s explore pivotal features that can optimize your editing process and make it more efficient.
Using Styles for Consistent Formatting
Utilizing the **styles** feature in Word is beneficial for maintaining a uniform appearance throughout your document. By applying the same style for headings, paragraphs, and text blocks, you align with your document formatting guidelines, creating cohesion and an improved visual hierarchy. This consistency supports navigation and enhances the reader’s experience by making the document easy to follow through. Additionally, styles come in handy during document editing, saving time and effort spent adjusting settings manually.
Document Themes and Their Impact on Presentation
The use of **document themes** in Word can also enhance overall presentation quality. Different themes can shift the color schemes and font choices throughout your document, perfectly complementing your formatting intention. This not only applies a professional touch but also aids in achieving an elegant style. By customizing these themes according to your organizational or project requirements, you ensure visual appeal in any crafted document.
Integrating Effective Document Layout with Templates
Creating document templates is a strategic approach for businesses, academics, or professionals looking to sustain a specific format for various **document types**. By developing customized templates, you can readily apply pre-defined styles, margins, and indentation that meet your unique needs each time. Templates streamline the writing process and minimize the risk of inconsistency, often a common pitfall that undermines **document integrity**.
Key Takeaways
- Understand the various **indentation options** available within Word and how they affect document structure.
- Utilize **paragraph settings** and the **ruler** effectively for precise indentation adjustments.
- Adopt consistent **text alignment** and margin practices to improve presentation quality.
- Leverage MS Word features such as styles, themes, and templates for cohesive document creation.
- Practice proper indentations specifically for **business letters** and **academic writing** to maintain a professional appearance.
FAQ
1. What are the different types of indentation in Word?
The main types of indentation include left indent, right indent, first line indent, and hanging indent. Each serves a different purpose in organizing text properly. Understanding these types allows for better **document layout** and ensures that documents look professional and are easy to read.
2. How can I quickly adjust indentation using keyboard shortcuts?
You can easily adjust the indentation in Word using keyboard shortcuts. Pressing the ‘Tab’ key will create a left indent, while ‘Shift + Tab’ will revert back, decreasing the indent. These shortcuts enhance your workflow, making it more efficient during text editing.
3. How can I set margins for my Word document?
To set margins for your Word document, navigate to the ‘Layout’ tab and select ‘Margins.’ You can choose from predefined margin settings or customize them according to your requirements. Properly set margins greatly improve readability and document presentation.
4. What is the benefit of using styles in Word?
Using styles in Word ensures a consistent **text formatting** across your document. Styles can be applied to headings, paragraphs, and text blocks, enhancing overall organization and creating visual hierarchy. This not only facilitates a clean appearance but also aids in navigating lengthy documents.
5. Can I use templates for different types of documents?
Yes, creating templates for different document types is highly recommended. Templates can incorporate specific styles, indentation, and other formatting elements addressing various needs such as **academic writing**, **business letters**, or resumes, ensuring you maintain professionalism across all documents.
6. Is there a difference between paragraph spacing and line spacing?
Yes, paragraph spacing refers to the space above and below each paragraph, while line spacing refers to the space between lines within a paragraph. Adjusting both can significantly impact the document’s readability and overall structure, aligning it with **effective formatting** practices.
7. How do I optimize text presentation for professional documents?
To optimize text presentation for professional documents, you should implement appropriate **indentation**, maintain consistent **margins**, utilize effective **paragraph settings**, and apply coherent styles throughout. Additionally, careful attention to spacing and alignment enhances document overall appearance and professionalism.