How to Install Kitchen Cabinets: A Complete Guide for 2025
Installing kitchen cabinets can be a daunting task, but with the right approach and tools, it can transform your kitchen into a functional and stunning space. In this complete guide, we will break down the process of **how to install kitchen cabinets**, from planning and measuring to securing and finishing touches. Whether you are a DIY enthusiast or just looking to understand the steps better, this article will provide you with not only step-by-step guidance but also some essential safety tips and best practices.
Understanding Kitchen Cabinet Installation Steps
Before jumping into the physical work of installation, it’s crucial to familiarize yourself with the essential **kitchen cabinet installation steps**. There are several stages to the installation process that ensure your cabinets are not only aesthetically pleasing but also functionally sound. Start by selecting a design that fits your space. Gather necessary tools such as a drill, level, measuring tape, and screws to facilitate the installation. Proper planning is key, so create a layout that helps visualize the complete remodel.
Measuring for Kitchen Cabinets
Accurate measuring is the backbone of any successful kitchen cabinet installation. Begin by measuring your space carefully. Take note of not only the height and width but also the depth when **measuring for kitchen cabinets**. Ensure to account for any appliances or features that may affect space selection. Using a professional measuring tool can improve accuracy and help avoid costly mistakes. Typically, a good practice is to record your measurements multiple times to confirm their accuracy. This thorough preparation allows for a much smoother installation stage.
Planning Cabinet Layout
Effective **cabinet layout planning** sets the stage for an organized kitchen. Consider the workflows in your kitchen and how often you access specific items. Try grouping cabinets based on utility, such as placing pots and pans near the stove or dishes near the dining area. Visual aids like sketches or 3D design software can help streamline this phase, allowing for a closer look at how different layouts might work in your kitchen. Balancing aesthetics with functionality is everything; thus, think about matching the style and color of the cabinets with the overall kitchen décor.
Tools for Kitchen Cabinet Installation
Having the right **tools for kitchen cabinet installation** is essential. Gather necessary tools before starting the installation process to avoid interruptions. Essential tools include a power drill, anchor screws, and levelers. Additionally, a stud finder will help in ensuring that cabinets are secured to wall studs for better sturdiness. Safety gear, such as gloves and goggles, should also be considered to prevent injuries during your installation process.
Best Practices for Using Tools
When using tools, it’s worth adhering to **best practices for cabinet installation** to ensure a smooth process. Always follow the manufacturer’s recommendations for tools and materials. Using the right size and type of screws, for instance, can greatly enhance the durability of your installation. Additionally, maintain your tools regularly. Dull blades or worn-out drill bits can complicate your efforts and foster uneven cuts. Lastly, practice procedures on scrap pieces before tackling your cabinets to ensure comfort and safety with your tools.
Understanding Cabinet Hardware Options
Selecting the right **cabinet hardware options** can emphasize the final look of your cabinets. From knobs and pulls to hinges and screws, hardware significantly affects both the aesthetic value and functionality of your cabinets. Opt for durable materials that withstand daily use and complement the overall kitchen design. Installing cabinet accessories, such as soft-close hinges or pull-out shelves, can elevate usability and enhance the experience in your kitchen.
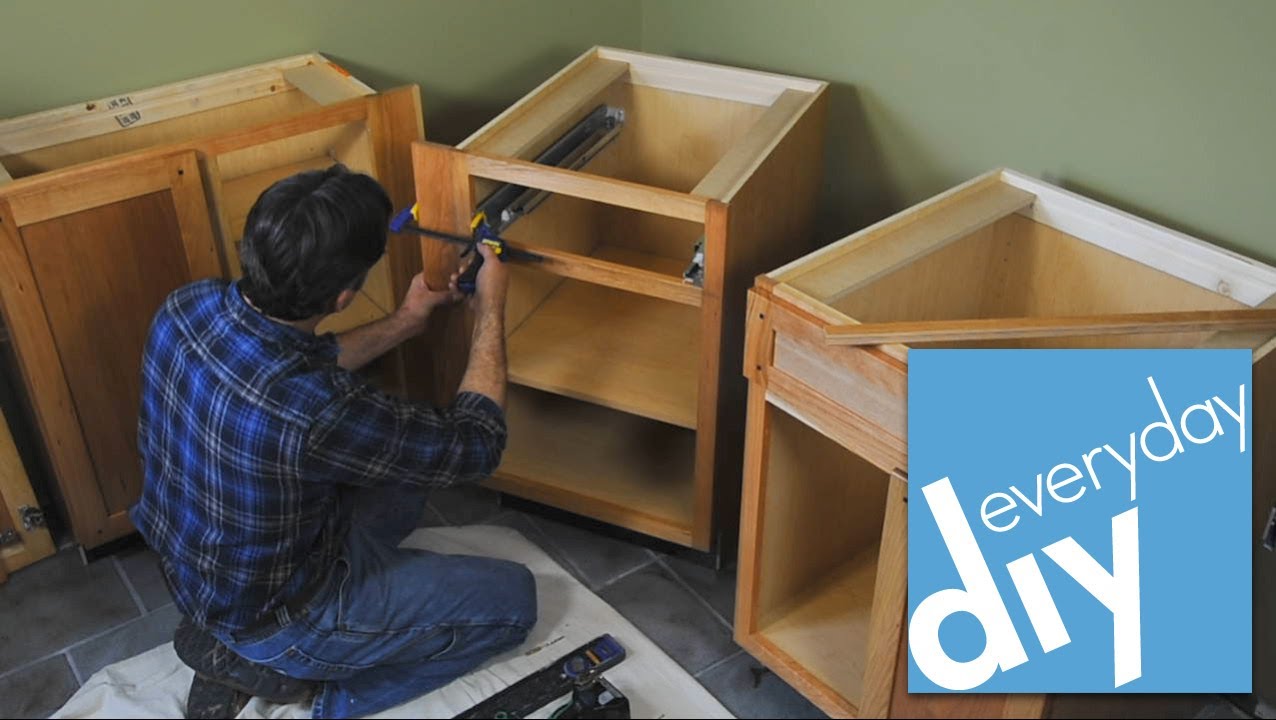
Installing Base Cabinets and Wall Cabinets
Knowing how to install your base cabinets and wall cabinets correctly is critical during kitchen revamps. Begin with the base cabinets since they will support the wall cabinets. Ensure that the base cabinets are leveled before securing them in place. Use a **leveling kitchen cabinets** method to check for height discrepancies among the cabinets so that everything appears uniform and aligned. Use shims if any adjustments are necessary, making certain that they remain stable before moving on.
Securing Kitchen Cabinets to the Wall
Once base cabinets are set, you can commence with **securing kitchen cabinets to the wall**. This practice is essential to avoid any instability, especially in high-traffic areas. Start by marking where the wall studs are located and align the upper cabinet with these markings. After this, use sturdy screws to attach the cabinets directly into the wall studs, ensuring maximum strength and capability to hold kitchen items. For peace of mind, always double-check the stability after installation.
Adjusting and Installing Cabinet Doors
Finalizing the installation involves **attaching cabinet doors** and making necessary *adjustments*. It’s crucial that all doors are aligned properly for functional aesthetics. Hinge adjustments can also be made to ensure the doors close correctly and smoothly, enhancing their functional usability. When connected correctly, these adjustments will yield a high quality, professional appearance that can elevate the overall kitchen style.
Finishing Touches: Installing Crown Molding and Cabinet Handles
Adding crown molding provides a polished look to your cabinets, giving them a seamless and integrated appearance with the ceiling. The technique for **installing cabinet crown molding** includes careful measuring and cutting at angles for a well-fitted appearance. Select a style that suits your kitchen layout and height. Additionally, once the molding is in place, you can focus on **installing cabinet handles** – the final touch that ties everything together. This is not just about aesthetics; selecting durable, ergonomically designed handles improves functionality, making daily use more efficient.
Best Practices for Cabinet Maintenance
Understanding **kitchen cabinet maintenance tips** is essential for preserving the look and functionality of your cabinets long-term. Regular cleaning with non-abrasive cleaners prevents build-up and preserves the finish of your cabinets. Paying attention to adjustment needs as seasons change may also be necessary; dryness or humidity can affect how your cabinets function. Natural wood requires occasional treatments with oils or wax to keep its luster and resilience intact, keeping your cabinets sharp and stylish in your culinary surroundings.
Key Takeaways
- Accurate measuring and planning are essential for successful cabinet installation.
- Proper tools can streamline the installation process significantly.
- Securing base and wall cabinets correctly is vital for long-term usability.
- Adjustments should be made to ensure cabinet doors function evenly.
- Finishing touches contribute to the overall aesthetic appeal of the kitchen.
FAQ
1. How do I remove old cabinets safely?
When **removing old cabinets**, start by clearing all contents out of the cabinets. Ensure that you turn off any electrical connections associated with light fixtures and outlets nearby. Detach the doors and hardware first, then unscrew the cabinets from the wall. Make sure to check for studs before pulling them loose. Exploit a crowbar or a pry bar carefully to separate them from the walls, minimizing damage to your kitchen’s interior.
2. What materials should I choose for kitchen cabinets?
Selecting **kitchen cabinet materials** is crucial in achieving both aesthetic appeal and durability. Popular options include solid wood, plywood, and engineered materials. Solid wood provides warmth and is hard-wearing but may stretch your budget. Plywood is a more cost-effective solution that’s less prone to warping. Laminate or vinyl materials offer a multitude of colors and styles, making them modern favorites for budget-conscious projects. Consider longevity and ease of cleaning when making your choice.
3. How long does it typically take to install kitchen cabinets?
Estimating **cabinet installation time** primarily depends on the scale and complexity of your project. For a typical DIY project, it can take anywhere from a couple of days to over a week, especially if you’re new to the process. Factors affecting your timeline include cabinet size, design requirements, and additional installations like lights or molding. Always allocate extra time for adjustments and finishing touches to deliver a high-quality installation.
4. What are common mistakes to avoid during installation?
Some common **cabinet installation mistakes to avoid** include not properly leveling cabinets, overlooking studs for securing, and miscalculating measurements during layout planning. Neglecting to plan through workflow can lead to inefficient cabinet arrangements. It’s also crucial not to rush the securing process or skipping shimming, as this can result in unstable cabinets that shift or break over time.
5. How can I incorporate lighting into my cabinets?
**Adding lighting to cabinets** can enhance their appearance and functionality significantly. Consider installing under-cabinet lights to illuminate workspace areas. LEDs are highly recommended due to their energy efficiency and longevity. You can also explore options for installing cabinet lighting on the interior to bring attention to decorative items. Ensure the lights are compatible with your layout and plan wiring before finalizing cabinet installation.
6. What are effective organization strategies for kitchen cabinets?
Organizing kitchen cabinets involves using various strategies such as grouping similar items together and using drawer dividers. Consider installing **pull-out shelves** or lazy Susans to utilize lower cabinets efficiently. Ensure that the most frequently used items are placed within reach, allowing ease of access during cooking. This approach maximizes functionality while enhancing your kitchen’s overall aesthetic.